Now that you know how to mix gouache, to get the most out of your paints you’ll have to understand how to use them. A lot of this comes with practice, but to help you get started here are a few techniques to experiment with. I’ve used all of these techniques at one time or another in my painting practice and I’m always in the process of experimenting and playing to see what else I can do. I encourage you to do the same. Don’t be afraid to get creative! Most importantly, have fun and enjoy the process.
Staining
This is a great technique for when you want to use a solid color as a foundation for the rest of your painting. It’s very similar to creating a wash in watercolor. To start, mix a tiny amount of paint with ample amounts of water. If you’re in a hurry and don’t care about having streaks, thoroughly and quickly cover your page and let dry. You’re done! On top of being a quick method, this gives you some interesting textures to work with. If you’re looking for an even color, use the same method but make sure the page is damp before applying your watered-down color. Add the paint quickly and go over as necessary until the color is nice and flat.
Wet on Dry
When you apply gouache directly to a dry surface, it’s known as painting wet on dry. All my paintings are technically wet on dry, except in select areas (like when making eye colors). I like the amount of control it gives me.
Wet on Wet
This technique involves adding gouache to damp paper, similar to staining but without the paint being too watery. To me, this technique feels a bit more like working with watercolor than gouache, but it does create nice soft edges and the blurred bits can end up being a delightful surprise once they’ve dried.
Dry Brushing
You can’t go wrong with scratchy, random marks! It’s always interesting, and frankly, it’s fun to do. To use this technique, get paint on your brush before removing most of it using a rag, scrap of paper, or (my favorite option) your painting smock. Now, use whatever’s left over on your ‘dry' brush to mark up your page. That’s it! Simple, right?
Blooming
This watercolor technique works well with gouache and creates little fun blotches of color. To start blooming, get a small area of your paper wet. This is where you’ll be laying down your paint. Load your paintbrush with water and pigment and touch the tip of your brush to the wet section. Then watch it spread and bloom into its own unique blotch! This is an effective way to create a base for flowers, add-on spots, or even make a light flare. How else could you use it?
Reworking
Gouache is easily reconstituted with water which makes reworking easy. If you want to rework a section of your gouache painting after it’s dried, use a slightly wet brush to tweak the area. Use this technique to soften an edge, take off some color, or blend… With so many possibilities, it’s just a matter of trying things to see what you like.

I originally had hard edges forming the inside of this ear. Once the layer was completely dry, I used a soft wet brush to reconstitute my gouache and blend the colors together. As I blended, I lifted off some of the paint and this was the result.
Gradient
I personally think achieving a nice gradient takes a bit of practice, but once you understand the process it can lead to some beautiful results. To create a gradient you want to work quickly! Make sure all of your paint colors are prepped and ready, with two separate brushes on hand so you don't contaminate the colors. You’re going to start by adding two strips of color, leaving a space between them. Gradually add more of each color until they meet and begin to blend. If they still look too separate, add a bit of water to encourage the colors to merge and work them into one another carefully.
Paper Color
Gouache stands out on colored surfaces really well because it’s naturally opaque. Try using bright colors on black paper, or choose a colored paper as your foundation layer instead of staining. This is where you get to have some fun and play with color combinations. Red on turquoise, gold on blue, green on peach. You won’t know if you like it until you try!
Play
This is an entirely experimental technique and one of my favorites to use. It answers the important question of ‘What else can I use to create an interesting texture?’ For example, I use my finger to paint because I love the texture and look of a random fingerprint. You can use things like leaves, rags, salt, paper towels, aluminum foil, etc. to play with! You can also use masking fluid to preserve white spaces, and splash color for an unpredictable pop of fun. For one of my most recent paintings, I decided to use masking fluid to create stars in the sky. It was completely experimental and it literally got EVERYWHERE but the result came out better than I expected. Trying something experimental left me with a unique technique that I’ll keep using in other paintings.
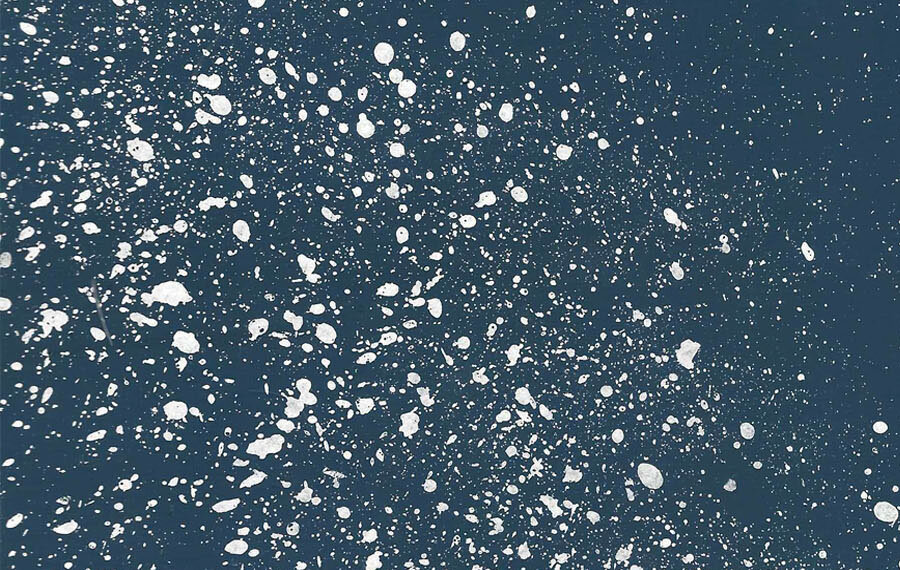
I used masking fluid and a splatter technique to mimic the stars in this piece. I was very careful to let the masking fluid dry completely before adding paint, and also in making sure that the paint was completely dry before attempting to take the masking fluid off.
Glazing
Glazing is all about playing with different levels of transparency. For example, adding a wash on top of select areas to enhance a color, or if a color feels too strong, you can use a diluted wash with some of that color and white to make it a few shades lighter. When using this technique, make sure you work quickly and only on top of dried areas so you don’t reconstitute everything and make a muddy mess.
Mixed Media
Gouache is a great medium to use in mixed media works because it’s versatile. You can use it on top of other mediums (i.e. adding a pop of color to a watercolor painting), or you can mix it with acrylic to create a hybrid species of paint that’s more matte than acrylic and more permanent than gouache. You can also use other media on top of it. Dried gouache has ‘tooth’ to it which gives other media something to latch on to. I’ve seen people use it with pencils, colored pencils, pen and ink, etc. The other interesting thing about gouache is that it’s pretty hearty when it dries. You can even erase on top of it as long as you’re gentle. For best results, I recommend letting your gouache layer dry completely before adding anything on top of it. I usually let it dry overnight so it has no dampness. (Some people would say that that’s going a bit overboard, but I always err on the side of caution, especially when I’ve spent hours painting something—waiting a few more isn’t a big deal!)
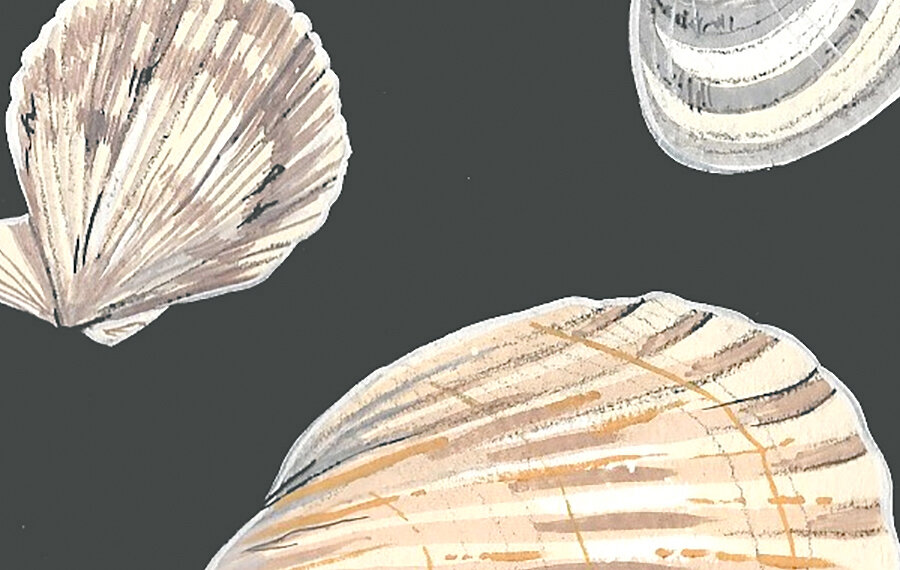
I used colored pencil on top of gouache to give these shells a bit of texture.
These techniques give you a good idea of how you can get started with gouache. I hope you get inspired to play around and see where it takes you. Remember to enjoy the process, knowing each failure eventually leads to success and that we can only learn by doing. With that in mind, I hope you fail, succeed, play, have fun, and grow as gouache painters. If you have any other gouache techniques I missed please leave them in the comments below. I LOVE learning new things and would be so happy to try them out, and I’m sure other people would as well!
Happy painting, and until next time!
x
Manda